
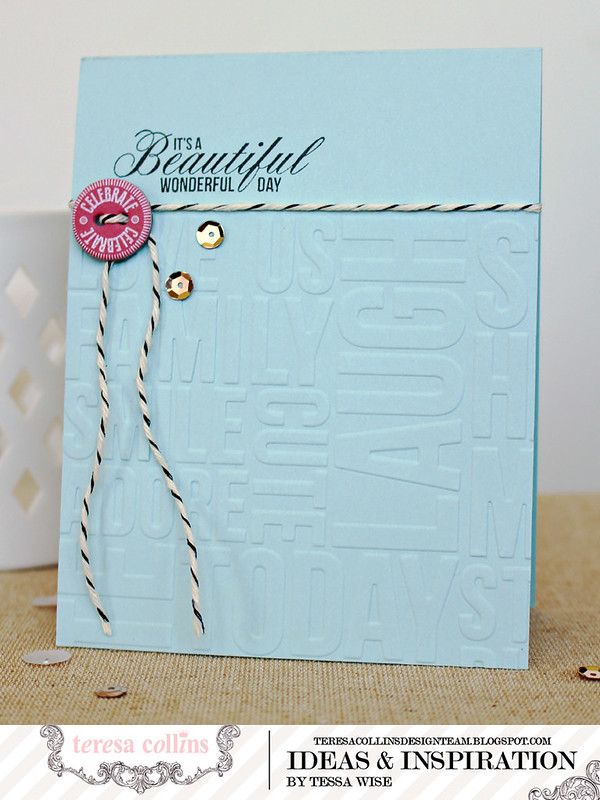
Today's cards are clean and simple- a design that lets the details shine! I'm showcasing Teresa's beautiful embossing folders made by Craftwell along with some of my favorite goodies from her current lines. This first blue one was such a simple one to create- it's one layer even! I placed my open card base into the top of the new Beautiful Words embossing folder so that only a portion of the front would get pressed. It works perfectly- no creases from the side of the folder at all!! Once this was done, I stamped the sentiment from the Daily Stories clear stamp set with black ink and tied a bit of twine around the card, just under where I stamped. I added the Save the Date Chipboard button next, threading one of the twine tails through its holes. To finish off the look, I added a couple sequins- I love how they look against the pretty blue cardstock!

This one uses the Dotted Chevron folder- I ran my card base through the eBosser so that it would only emboss the front half. The embossing really pops on white cardstock and this folder gives it such a fun texture! I cut the top portion of the card next, keeping it on a diagonal. I added the sticker and epoxy shape from the Save the Date collection and then stamped my sentiment. I added this panel to the card using dimensional foam adhesive dots- thanks again Xyron!! :) To finish off the look, I added a few sequins trailing down from my embellishment cluster.
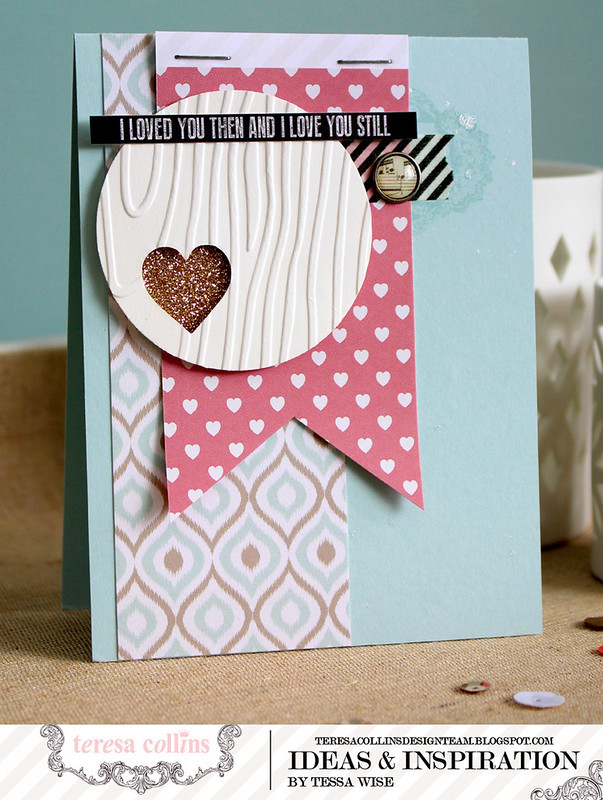
My last card also features a pretty embossed portion- this time I used the Woodgrain Cottage folder on watercolor paper! With my first pass through the eBosser, I diecut it into a circle and cut out the heart using thin metal dies. I ran it through the machine a second time inside the embossing folder. The watercolor paper is a little thicker so the embossing is extra crisp! I added a bit of glittered cardstock just behind the heart- I love how it peek-a-boos out! Once this was done, I built my card. I started with a blue card base and stamped the label from the Save the Date collection clear stamp set with matching blue ink. I splattered a little pearlescent mist over it next. Once it was dry, I added my patterned paper- these are from the Save the Date (ikat) and Daily Stories (hearts) 6x6 pads. I added a bit of decorative tape, a decorative brad, and a sentiment sticker all from the Save the Date collection. I finished off the look with a couple of staples using my pretty pink Teresa Collins Stapler.
These were so fun to create! I want to run every card I make through my eBosser right now and emboss them- I just love the texture it adds!
Thanks for joining me today!

These cards are so cute Tessa!!
ReplyDeleteThank you! I've been embossing everything lately! :)
Deleteso awesome, thanks for sharing!
ReplyDelete