
Ok, Who's not inspired by Pinterest these days??? I fell in love with this idea that I saw on Pinterest {HERE} Of course, I took it to the next level! I know some of you know of my fondness and my growing collection of old fashioned clipboards. I had to make this for our great room! It's the important dates of my Family, Husbands and my birthday, our anniversary and when our daughter was born.

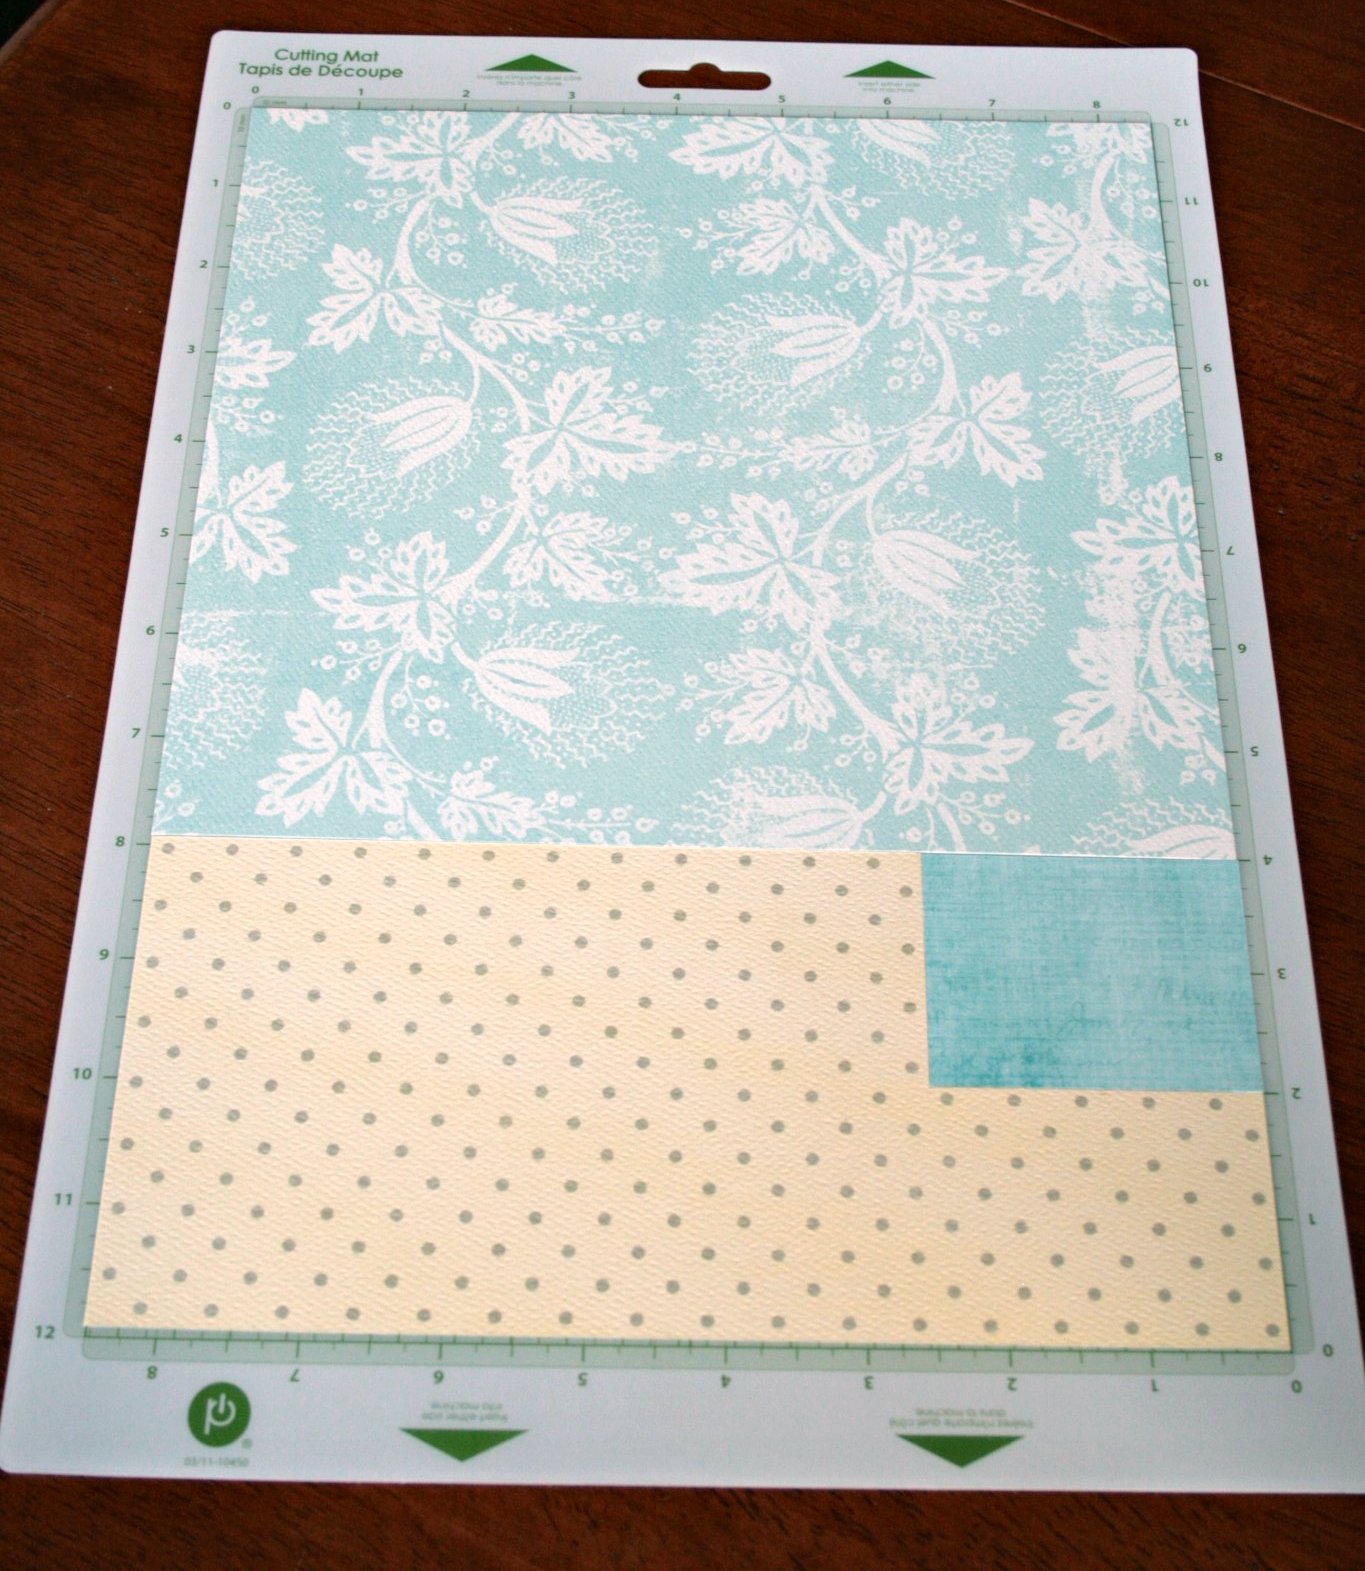
To create this project I used the Cricut Craft room - SOPHISTICATED cartridge and the Cricut MINI. Let me tell you my two favorite reasons for LOVING the Cricut craft room, and I mean that! #1 - I am very visual, so for me, I will use this, the ease of use to pull it up on my laptop and create something and know EXACTLY how it will cut makes me super happy!! #2 - See picture two on the right? Because of reason #1 I can cut multiple papers for my project ALL AT ONCE because I know where and how to measure the paper, to put on my mat! SWEETNESS!! Papers I used - For the numbers: Flying Kites. For Family and the scroll:In The Attic (back). For the Key hole: 6x6 Pad blue sheet

Oh but the project gets better! I wanted the key hole to sparkle, but oh my gosh, that little frame around it had to be glued and sparkled too!! No EASIER way to do this than to run in thru the new TC X sticker maker by Xyron! See the steps below to see how I created the piece.


I was able to use the sticker maker on the ENTIRE project!! What a dream, saved me so much time!!
I took all of the metal off of the clipboard and covered it using the paper: In The Garden (back)

For my base page I used 2 strips cut 2.5 by 8.5 from By The Pond paper. Then I cut 9.5 by 8.5 from With a Book (back).
***TIP*** Then I layered my "cut paper template" (the piece that the numbers came out of) that I peeled off of my mat and set it on my base paper so I knew EXACTLY how to space all of my numbers because I had already spaced everything when I was creating the project in the Cricut craft room! So I placed all my numbers back into that piece that I had pulled them from then carefully pulled it back up after all the numbers were in place (kind of like a puzzle) and it worked perfectly!!
I used two boarders from the Die Cut Sheet #2 and placed them where the base papers abutted each other. I added the "A wonderful day" adding glitter around the edges and then adhered it using pop dots. I punched my holes for the top and added some blue paper reinforcers. I pleated some crepe paper and added it on the back side of the bottom strip.

I hope you enjoy!

love this Cheri! :)
ReplyDeleteBeautiful Cheri... Absolutely beautiful!!!
ReplyDeleteLOVE, LOVE, LOVE this!! I am definitely going to make one of these!! Thanks for the inspiration!!
ReplyDeleteI agree Beautiful and I Love Love Love it!!!
ReplyDeleteAwesome! I"ll be pulling out the clip boards in my garage sale pile!
ReplyDeleteThank you!
Kathy
Oh, what is the diff between this x xyron & their other one?
ReplyDeleteHi Kathy, I had an old orange one - it was well used and I was super excited when Teresa came out with this pink hounds tooth - I love having fun products that inspire me, I was ready for a new one with a fresh look. It's just the casing that is different from the old one that I can tell. Hope that helps.
DeleteBeautiful! I have some old clipboards just waiting for this!
ReplyDeleteAmazing, Cheri!
ReplyDeleteLOVE this! I have been looking for that EXACT type of clip board! Where did you find it? I'd LOVE to know..... thank you!
ReplyDelete