
Hello everyone!
I shared a sneak peek of this mini on my blog Friday for the Craftwell/Xyron Summer Blog Hop and promised the rest of the mini here today!
I hope you enjoy.

The front cover is embossed with Teresa Collins new Word embossing folder from Craftwell.
I used a piece of Bazzill's plastic paper (which is thick). It embossed wonderfully!
I was so excited that it would give such a clean impression even with the thick material!
The size of the book is 7 x 9.
I used Teresa Collins Urban Market Collection.
Oh this collection makes my heart sing..truly sing, hehehe.
Behind the transparency is one of the large file folder from the decorative folder.
I liked that it didn't over shine the embossing.

So this is the back of the file folder and then page 1.
I cut a piece paper to 7 x 12. I scored it 3 inches from the right side to create the flap.
Then embellished.

The back of page one is left open for pics.
The next page is cut 7 x 9. I used two tags, one to create a pocket and one to tuck behind to add more journaling or extra stuff. Then embellish.

The pages are 7 x 9.
I used one of the tags (remember) to create a flap on the left.
A great way to include more then one pic.
On the right I cut a piece of the glittered decorative paper...love...6 x 7 and folded two inches around to the next page. Then embellished.
Note" I took some of the round stickers and adhered then to a office paperclip to add extra interest.
I love the flip ups that come with the file folders.
Such a great way to gain extra room on small pages.
The left page is cut again to 9 x 12 and scored at 3 inches from the right side.
Fold that flap over to create another tuck pocket or flip.
Then embellished.

Here I wanted to leave plenty of room for pictures so I left some open space.
I did paint the decorative wood pieces with GOLD paint.

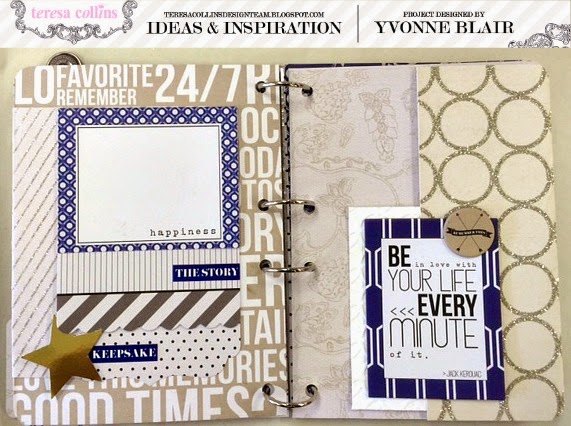
On the left side I scored a decorative overlay and glued the small part to the previous page (before embellishing) I wanted to decorative overlay to be interactive so I can adhere a picture to the underneath side to see the "happiness" and then to the back side of that picture another one can be added. This way you can use the stripes as a place to journal.

The page on the left is a place I will add Instagram Pictures and then do some serious journaling on the lined paper. On the right a tag pocket made out of one of the cut apart papers.

And another look at the cover. I love how the layering of embellishments on the bottom add even more texture and dimension!
Hope you enjoyed.
Supplies Used:
Urban Market Collection of papers
Urban Market decorative stickers, chipboard embellishments, decorative wood pieces, enamel dots, decorative brads and file folders.
Other-TC Mega Runner from Xyron, TC eBosser, Word Embossing Folder, Gold foil paper,
Fiskars star punch, Bazzill Clear plastic paper, Book rings and paper clips.

You did such a great job with this! That embossed cover is awesome!
ReplyDeleteWhat a beautiful project! Love it! Thanks for sharing!
ReplyDelete