Showing posts with label Xyron Sticker Maker. Show all posts

Monday, April 7, 2014

Mothers Day tutorial with Cheri Piles using the Basically Essentials Instagram Banner Kit

Hey there! Mothers day is right around the corner and I wanted to share with you a quick and easy project that would make a great little gift. I don't know about you but my daughter has been taking "selfies" so I went to her instagram page and printed one of her selfy pictures from 2012. This would work for any age!!
I wanted to create something fun and unique so I used the new Basically Essentials instagram banner kit. This banner kit is so fun and as you know with scrapbooking there are NO RULES!! So I switched it up and created a mini album with 6 of the pages, it comes with 8 pages, beautiful papers and ribbon. I corner rounded each of my 6 pages.

I wanted my book to have a cover so I cut a 4"x12" strip from the Daily Stories "ombre circles" paper. Gently fold it in half - and slip it into your new Teresa Collins Xyron 2 hole punch and punch your holes. Corner round all of your corners.

Then using a score board score 1/2" between each of the holes to create the spine of your book. Decorate your cover using embellishments from the Daily Stories collection. I used the journal card from the "currently"' paper and corner rounded the right sides. Then I added the thin monthly word strips from the side b of "ombre circles". I layered washi tape above the word strips. I added the layered butterfly sticker to top right of washi tape in upper frame of card. For some added fun I stamped in black ink the "this is me" in the bottom of the frame. For some "shine" I added a few sequins. Simple and quick! :)

Now, this is important to remember, when you punch your instragram pages from the kit do not slide them all of the way in so your holes on your pages will line up with the holes on your cover. Then using washi tape of choice from the Daily Stories collection, wrap a strip down the center of the openings. 

I printed all of my daughters photos 3"x3" then matted them onto white cardstock that I cut 3 1/2" x 3 1/2".  I rounded all of the corners of the photos and the white cardstock. Then adhere over your open space and add a second photo to the back. You will have a 1/4" of OPEN SPACE around your photo, This is what makes this so neat to look at!!

The back of the Ombre circles papers and months. So cut them into strips to create page "tabs", to make the wide tab cut just above the months of one line, skip a row (the row that you will use for your tabs) then just below the next row. Then cut between every other month so you have January & February together and so on. Then fold, corner round (only if you want, it's kinda tricky to corner round them because they are small...treat yourself to a piece of chocolate at this point) then adhere them to your pages. 

I started putting the tabs on the ends and working my way in so they were all evenly spaced.

Once you are done with your tabs cut 12 strips 4" x 1" from a sheet of paper from the collection. I used the "floral" paper. I corner rounded one side to match the edges then adhered them to the wide space. Add your rings and tie your ribbon to the top ring and trim excess away and you are done!

This was such an easy project using just the banner kit and two sheets of paper but you could use just the one sheet of "ombre circles" paper to complete it! I made it while watching a movie, super quick and easy! 

I hope you are inspired to re-create on of your own!
~Cheri


Wednesday, June 27, 2012

Glitter, Glitter, Glitter - 3 DIY glitter projects with Cheri


I love Gentry's glitter from the Blingage collection - I know, I know, I know, you have heard me say this a time or two but I do LOVE it! It's so fine and sparkly!!

PROJECT#1: DIY CHARM NECKLACE


Supplies used: Gentry's Glitter, Sweet afternoon pink paper from 6x6 paper pad. Die Cuts also from Swee Afternoon and one pink bling brad. Other: 1x3 strip of music notes, 1x3 memory frame and glass 1x3 (two pieces), pink ink pad (Tim Holtz distress in spun sugar).


1. Cut a 1x3 strip from the pink paper, lay it pink side down on your glass. This will become the back side so that you have a nice pretty back for your necklace.
2. Lay your music notes on top. (You don't need to glue it because the glass will hold it all together.)
3. Trim your sweet afternoon banner to fit inside the frame and ink around edges.
4. Cut a heart shape from your pink paper.
5. (*Optional - ink first in pink) Cut the "you make my heart sing" into strips.


6. Put you pink heart face down in your Teresa Collins Xyron sticker maker. Then adhere your glitter to the front.
7. Put all the word strips, larger banner and sparkly hart into sticker maker and then start layering.
8. Put your charm into the frame with your glass.
9. Cut the prongs off of the back of your brad and adhere to outside of frame.
10. Add ribbon of choice to top and your finished!


PROJECT #2: DIY GLITTER ACCENT CONE


Supplies used: Gentry's Glitter, Fabrications Linen - Green Fleur de lis side B, flower, die cut. Other: Double sided tape (I used red line for this project), cream ruffle ribbon, cream satin ribbon.


1. Cut out the shape of your cone from the side b of Green Fleu de lis paper.
2. Tape along top edge of cone and add Gentry's glitter to the tape.
3. Tape your ribbon to the inside top and along the side you will be adhering the cone together.
4. Adhere the large black die cut to the front center
5. Adhere your large cream flower.


PROJECT #3: DIY GLITTER KEY


I loved this one, so easy to do and so many ideas!!

Supplies used: Gentry's glitter, Collin's Keys. Other: Glossy accents liquid glue, pink ribbon.


1. Choose your key of choice
2. Squirt some glossy accents onto one half (and I mean the top or bottom half, not top or bottom side. Hope that makes sense.)
3. Sprinkle Gentry's Glitter on the key, then I used a clothes pin to hold it on the top half to try.
4. When the bottom is done drying flip it around, glue and glitter the other side.
5. Add ribbon and your done!

This would also make a great idea at Christmas - we had a home when my daughter was younger that did not have a fireplace and we made a "SANTA" key so that we could hang it on the outside doorknob, that was a "special" way he could get in on Christmas Eve! ;)


PS...Make sure you like us on Facebook, tell your friends... CHA is coming and there is some exciting fun things happening that you will not want to miss out on! Spread the word!! You will LOVE what we have up our sleeves!


Tuesday, April 24, 2012

Sweet Afternoon - Cute Checkerboard project by Cheri Piles


We are so busy being "plugged- in" these days. I am even guilty of it. I miss the days of sitting at the table with my daughter and playing a little board game. Often times you will find us playing "words with friends" in the same room... funny how things change. As I was playing against her on my phone I was reminiscing of those times not so long ago and I thought how fun it would be to make something new again!!


 Did you know that a checkerboard has 64 squares?? - Just saying, lol!

You will need this handy dandy little sticker maker for this project! The NEW Teresa Collins "X" Sticker maker!

To recreate this project you will need the following supplies: 
Sweet Afternoon 6 x 6 paper pad, stamp set, a brad from the brad set
Two sheets of your favorite piece of 12x12 from the collection.
Blingage (Stephanie's & Jamie's gems)
3 pieces of wood - I used a 7 1/2 x 7 1/2 square and two pieces for the legs (approx. 1 3/8 wide x 7 1/2)
Extra thick chipboard - 10 x 10
1 sheet of thinner chipboard (for checker pieces)
Pink paint for your wood

Prepare your base, adhere your "legs" to your square board and paint only the out side. (no need to paint where the drawer will go.) Trim one of your sheets of larger paper to 7 1/2 x 7 1/2 and adhere to the legs. This will keep your drawer in place when you pull it in and out.

To start cut one large sheet 10 x 10 and round the corners, adhere onto large thick chipboard of same size.

Cut all of your checker squares using two sheets of each pattern you like. All of the squares are 1 1/8 square. Run them through the sticker maker. Draw a large plus sign on your board in the center and start building your board. I stamped the large crown in the center when I was done. Then I used the border stamp around all of the edges.


To create the box use another one of your favorite sheets from the 6x6 paper pad. Cut 5 7/8 square and score the edges 3/8 of an inch and fold in and glue corners.

Add a brad of choice in the center of one of the folded sides to use as a drawer pull.


I used a flower and a scallop circle punch to create my checker pieces. I punched them from papers from the 6 x 6 paper pad. You will need to make 12 per side for a total of 24. 

Add another circle layer (from another punch) in the centers of each using coordinating paper. 

Then add Stephanies' gems and Jamies' gems to the centers of each piece.


Isn't it fun and pretty! Bring family game night back to the table by creating one yourself! 

Tuesday, April 10, 2012

Old Fashioned clipboard - project by Cheri using SWEET AFTERNOON, Cricut Craft Room and TC Sticker Maker by Xyron

Ok, Who's not inspired by Pinterest these days??? I fell in love with this idea that I saw on Pinterest {HERE} Of course, I took it to the next level! I know some of you know of my fondness and my growing collection of old fashioned clipboards. I had to make this for our great room! It's the important dates of my Family, Husbands and my birthday, our anniversary and when our daughter was born.


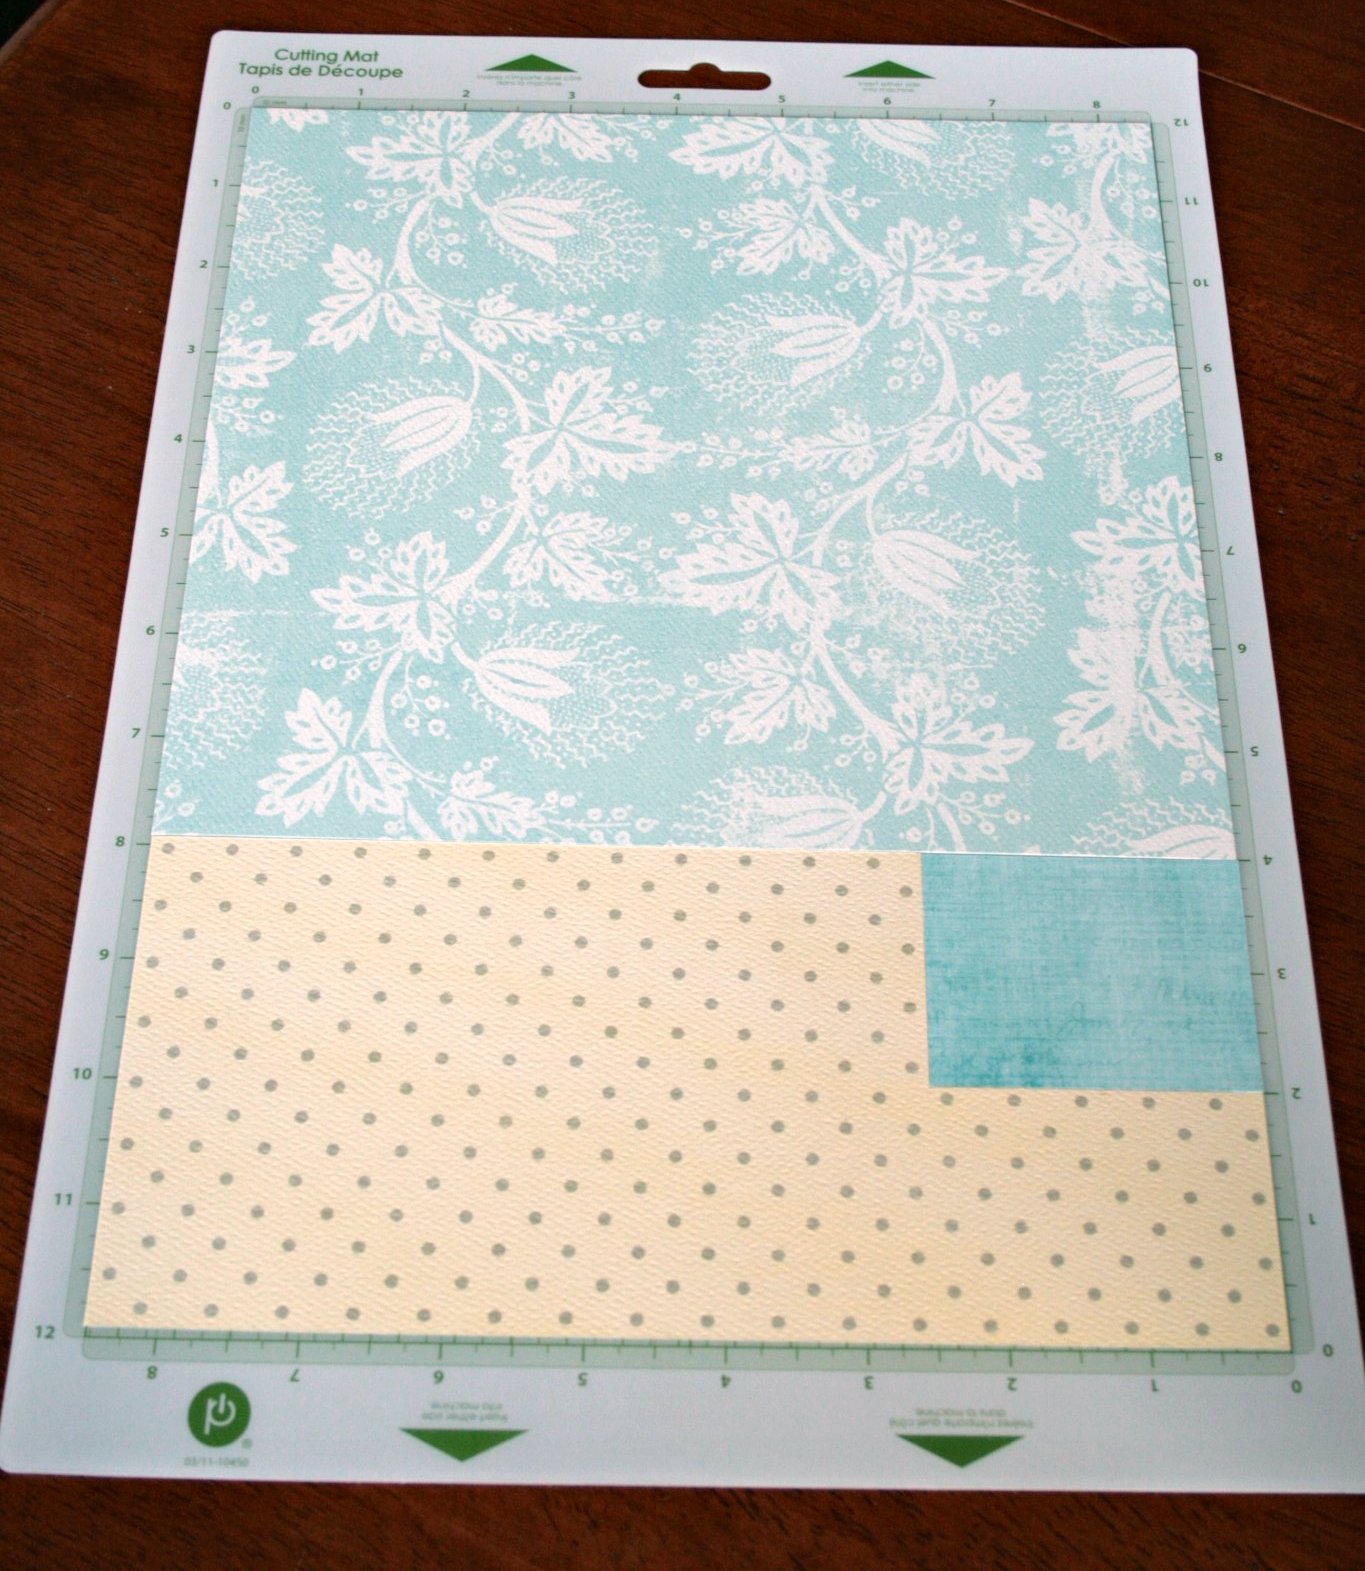
To create this project I used the Cricut Craft room - SOPHISTICATED cartridge and the Cricut MINI. Let me tell you my two favorite reasons for LOVING the Cricut craft room, and I mean that! #1 - I am very visual, so for me, I will use this, the ease of use to pull it up on my laptop and create something and know EXACTLY how it will cut makes me super happy!! #2 - See picture two on the right? Because of reason #1 I can cut multiple papers for my project ALL AT ONCE because I know where and how to measure the paper, to put on my mat! SWEETNESS!! Papers I used - For the numbers: Flying Kites. For Family and the scroll:In The Attic (back). For the Key hole: 6x6 Pad blue sheet


Oh but the project gets better! I wanted the key hole to sparkle, but oh my gosh, that little frame around it had to be glued and sparkled too!! No EASIER way to do this than to run in thru the new TC X sticker maker by Xyron! See the steps below to see how I created the piece.


 I was able to use the sticker maker on the ENTIRE project!! What a dream, saved me so much time!!

I took all of the metal off of the clipboard and covered it using the paper: In The Garden (back)


For my base page I used 2 strips cut 2.5 by 8.5 from By The Pond paper. Then I cut 9.5 by 8.5 from With a Book (back).

***TIP*** Then I layered my "cut paper template" (the piece that the numbers came out of) that I peeled off of my mat and set it on my base paper so I knew EXACTLY how to space all of my numbers because I had already spaced everything when I was creating the project in the Cricut craft room! So I placed all my numbers back into that piece that I had pulled them from then carefully pulled it back up after all the numbers were in place (kind of like a puzzle) and it worked perfectly!!

I used two boarders from the Die Cut Sheet #2 and placed them where the base papers abutted each other. I added the "A wonderful day" adding glitter around the edges and then adhered it using pop dots.  I punched my holes for the top and added some blue paper reinforcers. I pleated some crepe paper and added it on the back side of the bottom strip.


I hope you enjoy! 


Related Posts Plugin for WordPress, Blogger...