Showing posts with label Core Amour Color Core TC Cardstock collection. Show all posts

Monday, May 23, 2011

We have a winner for the Core'dinations Blog Swap


What an exciting week we had with Core'dinations and their Blog Swap!

We wanted to thank everyone that participated in our swap and we hope you were inspired by both design teams. We had so much fun with everyone so we wanted to show you more layouts the Teresa Collins Design Team created, and we hope we inspire you.

Designed by: Amanda Jones

Designed by: Amanda Jones

Designed by: Amanda Jones
Designed by: Sesil Cratin


Designed by: Jamie Harper

Designed by: Maridette Cachola
Designed by: Colette Nederhoff

Thank you everyone for your amazing layouts.

So, without further delay our winner for "on the edge" collection goes to:
Kelly Massman said...
When I have a sketch, I can complete one in 45 minutes up to about 3 hours!! Love the layouts here today! And, thanks for the chance to win!!! I'd be thrilled!
 Kelly- please e-mail me at sesil@teresacollinsdesigns.com with your address so we can send out your prize! Congrats!!!

Make sure to check back this week to be inspired with NOTATIONS!  We will be sharing some amazing projects and layouts using the Notations line and kit.

Sign up for our newsletter {HERE}

Thank you again for stopping to check out our blog.  Please leave us a comment and tell us what you think.

Friday, May 20, 2011

Teresa Collins and Core'dinations Blog Swap Day 5 - Giveaway, Yvonne Blair "Time" and Jamie Harder "Beautiful"

We have had so much fun in participating in the Core'dinations Blog Swap. So in our final day with the swap we will be having a give a way!!! But first here are a couple of layouts we wanted to share with you. Yvonne Blair and Jamie Harder take it away....


Time
Yvonne Blair
http://www.yblair.blogspot.com

Products- Teresa Collins On the Edge gears for Core'dinations.
Teresa Collins Designs On the Edge, Guitars-black side
On the Edge Distressed Dots-Grid side
On the Edge-Decorative Brads
On the Edge-Trims
On the Edge-Chipboard Embellishments
Timeless-Clock transparency
Other-Black pen, Thermoweb adhesive, Thickers from American Crafts.
Instructions:
Sand Gears paper from Core'dinations just around the outer edges.  Using an edge distresser rough up all edges.
Matt 4 x 6 picture and 4 x 6 On the Edge grid paper onto
6 1/2 x 9 On the Edge Black paper.
Adhere On the Edge Chipboard Gears.
Add On the Edge Decorative Brads to the center of each gear.  Cut out Five clocks from Timeless transparence and using a decorative brad attach to foundation of layout.
Add folded bit of trim at the bottom edge of matt.
Add Thickers and journaling
(Note: when you rough up the outside edges it really brings the bottom color out to frame the whole layout.)


____________________________________________


Beautiful by Jamie Harder
http://ahappyscrappyplace.blogspot.com

Coredinations: Posh Butterfly
Posh: Butterfly Script
Sports Edition II: Tags
Posh Die-Cuts
Posh Brads
Posh Stamps
Posh Trims
Blingage: Donna's Gems
Also included one piece black cardstock.

I trimmed the edges off the coredinations Posh Butterfly and attached to black cardstock.  Trimmed pices of Sports Edition II Tag paper and Posh Butterfly script. Cut part of circle on coredinations paper and slid the pieces of patterned paper under it.  Stamped a row of patterned in black ink and attached a line of pearl trim.  Pop dotted my large photo and circle die cut.  Stamped butterfly and attached a gem in middle.

_____________________________________________

Thank you Yvonne and Jamie! If you would like to see more from 
Yvonne check out her blog {HERE}
or
Jamie Harder {HERE}

If you would like to win "ON THE EDGE" Collection by Teresa Collins Designs, please leave a comment telling us how long it takes you to complete a layout. We will close the comments at midnight (MST) on Saturday.  We will announce one winner Monday, May 23rd.   We can not see how long it takes you to complete a layout.  Thank you again for Core'dinations for allowing us to participate in this great blog swap.  We hope we were able to inspire you.

Thursday, May 19, 2011

Teresa Collins and Core'dinations Blog Swap Day 4 - Maridette Cachola "Fabulous"

Day 4 of the Teresa Collins and Core'dinations Blog Swap. Today Maridette Cachola shows us how she distresses her Core'dinations paper.

Completed Layout

Distressed with Ranger Vintage Photo distress ink.

Used Victoria Velvet Distress Ink by Ranger to make the pink pop out.

More details of the layout.


Thank you Maridette for sharing your techniques with us.  To see more of Maridette's creations stop by her blog : HERE 

Make sure to check out Teresa's Blog click {Here}
and
Core'dinations Blog click { Here }

-------------------------------------------------------------------

The May Newsletter is out!  Check it out: {HERE}
Make sure you are getting the newsletter delivered to your inbox.  Please make sure that the newsletter is not going to your spam box.  If you still did not get it please sign up and click {HERE: Sign up}


Wednesday, May 18, 2011

Teresa Collins and Core'dinations Blog Swap Day 3 - Colette Nederhoff "Precious Noah " Layout

Colette Nederhoff created this amazing layout with the Core'dinations and Teresa Collins Blog Swap.
Enjoy!


Coredinations On the Edge Precious Noah Layout
Designed by:  Colette Nederhoff
Featuring Teresa Collins Coredinations On the Edge  Gears Paper

Supplies:
1- 4X6 photo
1- Coredinatoins On The Edge Gears  Cardstock
1- TCD On the Edge Griffin Paper
1- TCD On the Edge Guitar Paper
1 -TCD On the Edge Tags Paper
1 -TCD On the Edge Die cuts
1- TCD On the Edge Decorative Brads
1- TCD Chic BEBE boy ribbon
1- TCD Chic BEBE boy alphabet stickers
Sandpaper
Adhesives:  Adtech Glue runner and Thermoweb Foam Squares

Instructions:

1.  Sand the Gears paper to your liking to bring thru the blue background gears.  This should
    be however dark or light you like it.
2. Cut a rectangle of Griffin Paper with the Fleur design at top to 5 ¼ X 6 ½”
3. Cut a rectangle of Black Guitars (solid) paper to 5X7”
4.  Cut out the Crown Circle from Tags paper
5.  Cut out the 2 tag elements from the Die Cuts Page
6.  Cut a 16 inch piece of the Chic Bebe Boy ribbon and before adhering to the bottom of the page, cut off a little “BOY” scrap to use later.  Stick the rest to the bottom of the page.  
7.  Glue the Black paper down and then layer the Griffin paper on top of that as shown.
8.  Use the Alphabet stickers to spell Noah on Tag.   Glue to bottom Right side of black paper.
       Put Star brads in ends of the other journal
   tag and lift up with foam squares to the bottom left of the photo..
9.  Use Foam squares to put the crown circle over one of the gears and center.
10.  Tuck that little piece of boy ribbon under the top right corner of the Griffin paper.  
11.  Depending on your photo-- use the alphabet stickers to spell Sweet-- It could also be placed
     on the black if there is no room on the photo to fill.  


Make sure to check out Teresa's Blog click {Here}
and
Core'dinations Blog click { Here }

Thank you Colette for this amazing card. To see more of Colette's work click {HERE}
The Teresa Collins Newsletter will be out this week, to sign up for more inspiration click {HERE: Sign up}

Tuesday, May 17, 2011

Core'dinations Blog Swap - Day 2 - Cheri Piles "Thank You Card"

The Design Team has been working hard to get ready for this amazing blog swap with Core'dinations. Today we just want to thank each and everyone of you for taking the time out of your day today to stop by and check out our blog. Therefore we hope you will be inspired with Cheri Pile's thank you card.


“Core’dinations Posh - Thank you card”
Designed by: Cheri Piles (http://cherinspirations.blogspot.com)
Featuring: Teresa Collins Designs – Name of POSH, Blingage

Supplies:
Core’dinations. Posh: Die Cut Card Set, Trims, Elements, Brads
Thank you stamps created with Teresa Collins Stampmaker

Instructions:

Preparing your page components:

1. Punch out the following from the die cut card set paper: pink tab, pink mini damask tag, large grey and white tag, grey and black tag.
2. Punch out pink butterfly from chipboard elements
3. Cut one rosette from black flower trim
4. Create your thank you and thanks stamps with TC Stampmaker

Assembling your page:
  • Fold paper in half and sand paper revealing pink damask pattern.
  • Stamp Thanks along top of pink tab and fold in half.
  • Fold large grey tag in half and adhere pink tab to top left.
  • Stamp thank you to tight of grey and black floral tag
  • layer grey and black thank you onto pink tag on an angle
  • Punch hole in upper right corner of pink tag and add grey and black damask brad.
  • Adhere Thank you/pink tags to right side of large grey tag that you folded in half earlier.
  • Adhere your thank you layers to upper left of card on an angle
  • adhere black flower to your layers on lower left.
  • adhere your pink polka dot chipboard butterfly on middle left side of card in opposite direction of butterfly in lower right corner.
  • Punch hole in card just left of tower and add large black brad.
  • Add a dot of black diamond stickels every ¼ inch around top, right and bottom of card.
Make sure to check out Teresa's Blog click {Here}
and
Core'dinations Blog click { Here }

Thank you Cheri for this amazing card. To see more of Cheri's work click {HERE}
The Teresa Collins Newsletter will be out this week, to sign up for more inspiration click {HERE: Sign up}


Monday, May 16, 2011

Core'dinations Blog Swap - Day 1 - Amanda Jones "Flowers Layout"

The Design Team is supper excited this week as we are doing a blog swap with Core'dinations!
Be sure to check out Core'Dinations Blog everyday this week for some amazing inspiration!

Also head on over to the Core'dinations Facebook page and tell them Teresa sent you!

Here we have a great layout by design team member Amanda!
“Flowers Layout”
Designed by: Amanda Jones (http://amandajonesblog.blogspot.com)
Featuring: Teresa Collins Designs – Posh and Core’dinations Core Amor Cardstock
(http://teresacollins.typepad.com)


Supplies:

4 3”x2” landscape photos
Posh – Stamps
Posh – Die cuts
Posh  – Core’dinations cardstock
Blingage – Jesse’s Jewels

Other: Core’dinations Black Magic cardstock with pink core, scalloped border punch, butterfly punch, black stamping ink, black alphabet stickers, sandpaper, journaling pen..


Instructions:

Preparing your page components:

1. Cut a piece of the black magic cardstock to measure 9.5” tall and 3.75” wide. Punch a border down the left hand side of the card and sand the edges to distress them.
2. Sand the embossed portions of your background cardstock to reveal the pink core
3. Stamp the butterfly from your Posh stamp set onto the reverse of a scrap of pink core ‘black magic’ card, and cut it out.


Assembling your page:

1. Adhere your photos to the black piece of cardstock you prepared, leaving an even border around them and a larger space in the centre. Adhere the pink die cut label shape to the gap in the centre. Stick the stamped butterfly in the centre of that and then add one of Jesse’s Gems on top.
2. Glue your photo strip to the centre of your background cardstock.
3. Cut or punch some butterfly shapes from a scrap of the black/pink card and arrange them around the photo strip, layering some together. Stick some down with the black side showing and some with the pink side up.
4. Add your title and journaling to the right of your photos.


Thank you Amanda for a great layout! To see more of Amanda's work click {HERE}


The Teresa Collins Newsletter will be out this week, to sign up for more inspiration click {HERE: Sign up}

Tuesday, March 1, 2011

Teresa Collins Designs - POSH, Layout using new Core Amour Color Core TC Cardstock collection

Team member Jamie Harper created this amazing layout using the new Core Amour Color Core TC Cardstock. This Card stock goes with the new Teresa Collins Designs line called POSH.


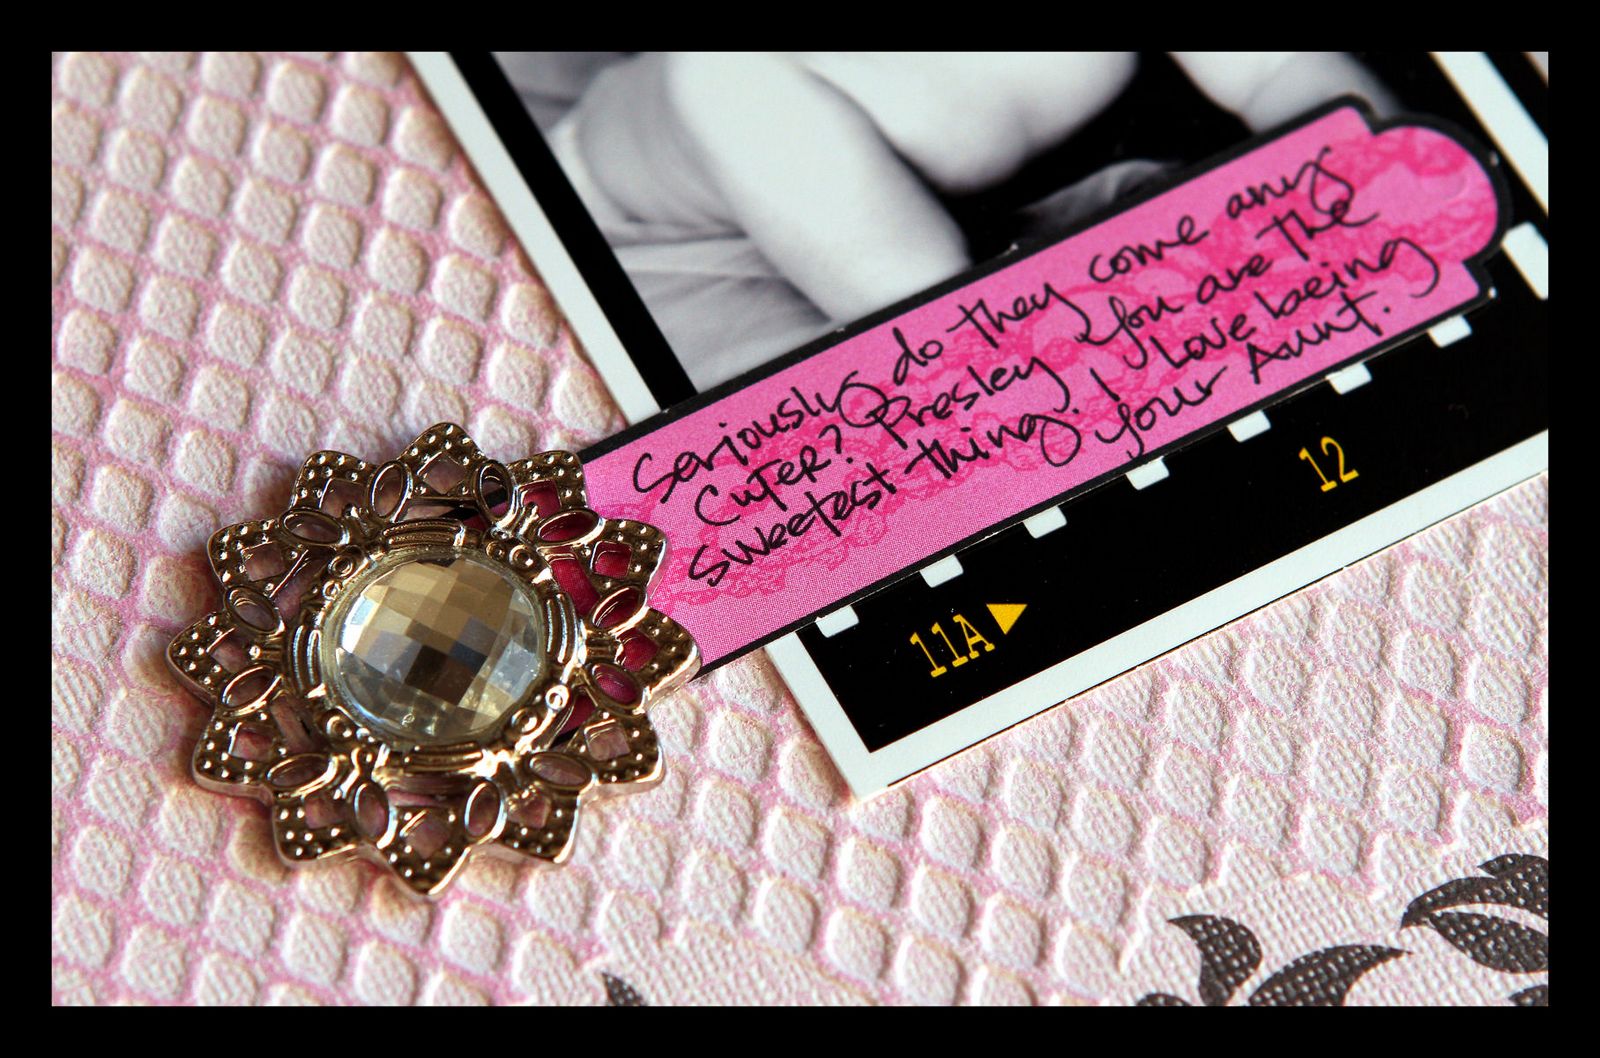
“Do They Come Any Cuter ?”
Designed by: Jamie Harper  (www.jamieharper.typepad.com)
Featuring: Teresa Collins Designs –POSH, Blingage (http://teresacollinsdesigns.com)

Supplies:
core’dinations POSH Butterfly
PH2112 POSH Clear Stamps
BL1902 Amy’s Gems Blingage
BL1924 Ali’s Pins Blingage
PH2110 POSH Die Cuts
Pink cardstock


Instructions:

Oh my goodness this paper is SO much fun to work with. Just look at how simple this layout is and yet just grabs you. It is so simple you just sand as much or as little as you wish and another color is revealed. It adds so much INSTANT dimension to your layout. If you have not tried it yet, it is a MUST!!!

Preparing your page components:

1. Cut the following pieces from your papers:

Cut a 12 x ½ strip of pink cardstock

Assembling your page:
  1. I did a light sanding on the layout
  2. I used a digital frame around 3 photos and printed them all out with a white border they total 6x9 all 3 combined
  3. Adhere your photos ½ in from the right side and 2 ½ from the top
  4. On your strip of pink cardstock stamp the cursive writing going all the way across
  5. Adhere the strip in the center of the black strip on the layout
  6. Stamp a butterfly onto pink cardstock and cut the butterfly out.
  7. Adhere the butterfly with a pop dot and with a pin behind it on top of the butterfly on the paper.
  8. Use the die cut journaling box to add your journaling. Adhere over the bottom of the first photo.
  9. Adhere your blingage to the left of the journaling spot.
Thank you Jamie for sharing your amazing layout!
Related Posts Plugin for WordPress, Blogger...